 DeleteText
How to Remove Text From Image
How to remove text from image files in three steps: upload, brush over the text, download. A practical guide with tips for clean results.
Sign in to upload. New accounts get 5 free credits.
- New accounts get 5 free credits.
- JPG, PNG, WebP · Up to 20 MB
- Version history
DeleteText / 01
Keep the picture. Lose the lettering.
A caption does not have to cost you the whole composition. Select the lettering, rebuild that area, and review the result against your original.
Illustration using a text overlay on a sample photo. Results on your image depend on the background and selection.
Upload image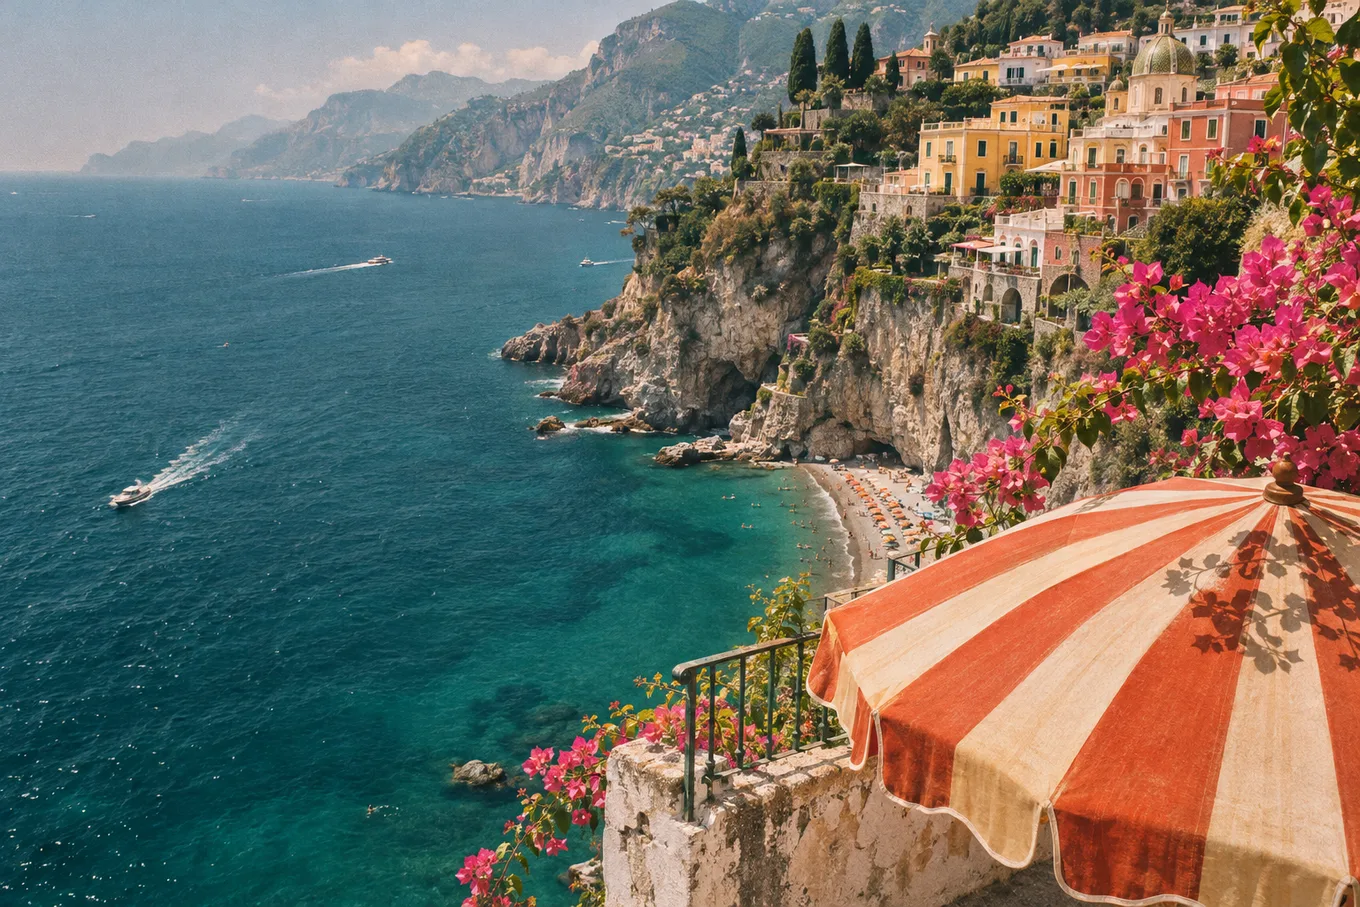
DeleteText / 02
How It Works
Upload the image
Sign in free, then drop in your JPG/PNG/WebP or paste a screenshot with Ctrl+V.
Brush over the text
Cover the letters plus 2–3 px of margin; use a big brush first, a small one for edges.
Erase and download
Press Erase (1 credit), check the before/after slider, re-brush if needed, then download.
DeleteText / 03
A cleaner starting point for your next project
From a single caption to a page of lettering, choose the workflow that fits your image.
Text Remover From Image
Need a text remover from image files with busy backgrounds? DeleteText rebuilds what is behind the letters — posters, packaging, signage and more.
Remove Text From Photo
Remove text from photo files — dates, signs, captions and tourists' graffiti — while keeping faces, skin and detail untouched. 5 free credits.
Remove Text From Manga Pages
Remove text from manga pages and comics before typesetting: erase lettering from speech bubbles and sound effects while keeping line art intact.
This guide walks through how to remove text from image files with DeleteText, from upload to download, plus the small techniques that separate a visible patch from an invisible edit. The whole process takes about a minute for a typical image.
Step 1 — Prepare and upload. Start with the highest-quality version of the image you have. Sharp text on a clean background erases far better than compressed screenshots of screenshots. Save the image as JPG, PNG or WebP (up to 20 MB), open the DeleteText home tool, and drop the file in — or just press Ctrl+V to paste a screenshot straight from your clipboard. Sign in first if you have not yet; registration is free and includes 5 credits.
Step 2 — Brush over the text. Once the image opens in the editor, pick the brush and paint over every letter, stamp or watermark you want removed. A few techniques worth knowing: cover the text plus a small margin — 2 or 3 pixels beyond the letter edges — so anti-aliased fringes disappear too. Use a large brush (40–80 px) to cover big words quickly, then a small brush (4–10 px) for thin strokes and tight corners. Zoom to 100% or higher for small text; the brush and the mask stay aligned with the image at every zoom level. If a stroke goes where it should not, press Ctrl+Z to undo it, or switch to the eraser to trim it.
Step 3 — Erase, check, download. Press the Erase button — 1 credit — and wait 10 to 60 seconds while the AI rebuilds the background. When it finishes, the editor shows a before/after slider. Slide it slowly across the erased area; if you spot a faint outline or a texture hiccup, click Continue editing, brush just that spot, and erase again. Results stack as versions, so you can compare attempts and keep the best. When you are happy, press Download.
Three habits produce the cleanest results. First, prefer several small selections over one giant selection — the model rebuilds better when it can see more surrounding context per pass. Second, erase text in layers: background letters first, then fine details. Third, never accept the first result blindly; the two-minute second pass is usually the difference between "good enough" and "nobody can tell". That is the full loop of how to remove text from image files — upload, brush, erase — and it works the same whether the text is a caption, a watermark or a stamp.
An edit you stay in control of
Choose exactly what changes
Your brush defines the repair area. Keep nearby labels, faces and product details outside the selection. The edge is blended to help the repair meet the original.
Keep every attempt
Each erase adds a version to your workspace. Compare the result, return to an earlier version, or continue editing from the one you prefer.
Review before you download
Check the repaired area at full size with the comparison slider. A second, smaller selection can help remove a remaining letter edge or shadow.
Before you call it finished
Start with the sharpest original available. Repeatedly compressed screenshots leave less detail for the repair.
Cover the complete letter, including its outline and shadow. Keep important edges outside the selection where possible.
Check both close up and at normal viewing size. Detailed patterns and large covered areas may need several passes; AI cannot guarantee the exact hidden original.
DeleteText / 05
FAQ – Frequently Asked Questions
How much margin should my brush leave around the text?
About 2–3 pixels beyond the letter edges so anti-aliased fringes are erased along with the letters.
Should I erase all the text in one pass?
Prefer several smaller selections — each pass gets more surrounding context and reconstructs more cleanly.
What if the result shows a faint outline?
Click Continue editing, brush just the outline, and erase again — targeted second passes usually fix it.
Does undo work while brushing?
Yes — Ctrl+Z / Cmd+Z undoes strokes one by one, and the eraser trims strokes without touching the photo.
How many free erases do I get?
New accounts get 5 free credits; each erase costs 1 credit and failed attempts are not charged.
Know what your edit includes
Try with free credits
New accounts receive 5 credits. Free-credit downloads have no watermark and a maximum long edge of 1024 px.
For your final files
Paid credits unlock original-resolution downloads without a watermark. Each successful erase uses 1 credit; failed tasks are not charged.
Your image, with room for something new.
Bring your photo, screenshot or scan. Choose the text to remove and keep the version that works for you.